
 Polski
  Deutsch
  Español
  Français
  Italiano
  Português
  Nederlands
  Svenska
  Українська
  Русский
 How to Scan Handwritten Recipes and Build a Digital Cookbook
Turn handwritten recipe cards into a searchable digital cookbook with a careful photo setup, a reliable backup, and a step-by-step transcription check.
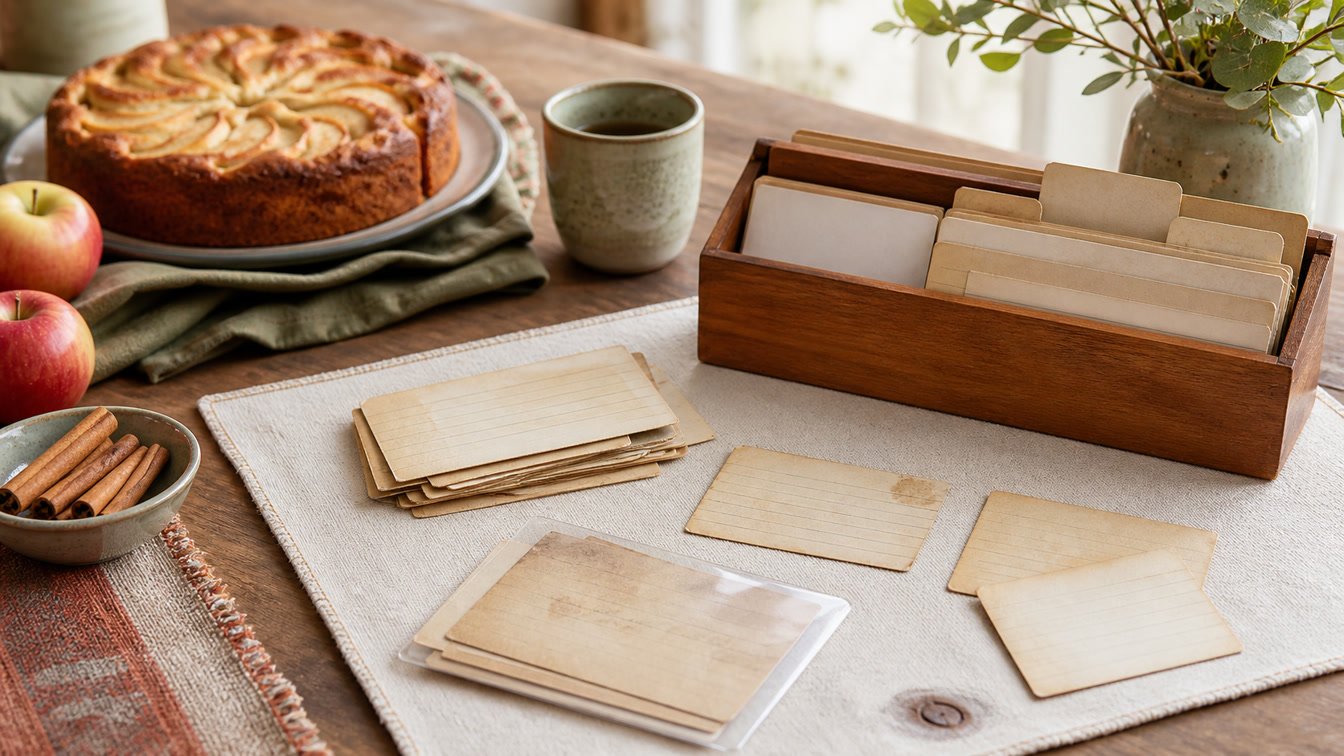
A handwritten recipe is rarely just a list of ingredients. The slanted measurements, crossed-out baking time, grease mark beside the good variation, and note that says “double for Christmas” are part of the recipe too. That makes digitizing a family card more delicate than photographing a utility bill—and more useful than leaving one blurry image in your camera roll.
When you scan handwritten recipes well, you create two things: a faithful image of the original and a clean, searchable recipe you can actually cook from. The image preserves the handwriting and history. The structured recipe makes ingredients, steps, servings, notes, meal planning, and grocery lists usable.
This guide gives you a careful phone-first workflow. You will learn how to prepare fragile cards, capture readable images, check an AI transcription, organize the result, and keep both the paper and digital versions safe.
Disclosure: YumiShare publishes this guide. The workflow is useful with any scanning and recipe-organizing tools, and we explain honestly where YumiShare can simplify the process. AI and optical character recognition can misread handwriting, so always review the extracted recipe before cooking.
Key Takeaways
- Preserve two layers: an untouched image of the original card and an editable recipe for everyday use.
- Handle old paper on a clean, dry surface with clean hands; keep food and drinks away while scanning.
- Use soft, even light, hold the camera parallel to the page, fill the frame, and capture both sides.
- Keep stains, margins, names, dates, and handwritten corrections in the archival image even if you crop a separate working copy.
- Treat every automatic transcription as a draft. Check quantities, units, temperatures, timing, yield, ingredient groups, and unclear family shorthand.
- Name and organize recipes consistently so future-you can search by dish, person, occasion, or ingredient.
- Keep the original paper after scanning and maintain a second digital copy outside your main recipe library.
- YumiShare can scan a recipe from a photo or screenshot on iPhone, turn it into an editable entry, and file it into a cookbook; Android remains coming soon.
Table of Contents
- Why a photo alone is not a digital cookbook
- Before you scan: protect the original
- How to scan handwritten recipes in 8 steps
- Which scanning method should you use?
- The errors you must check before cooking
- How to organize the digital cookbook
- A practical YumiShare workflow
- A 30-minute batch routine
- Frequently Asked Questions
Why a Photo Alone Is Not a Digital Cookbook
A camera-roll photo is an important first copy, but it is still an image. You may be able to recognize Grandma’s apple cake when you see it, yet the phone cannot reliably tell you that it contains sour cream, belongs in your holiday collection, serves twelve, and needs to appear on Saturday’s grocery list.
A useful digital cookbook separates preservation from utility:
- The archival image shows the card exactly as it exists, including handwriting, stains, corrections, drawings, and the back of the paper.
- The structured recipe turns the content into fields: title, ingredients, instructions, times, servings, source, notes, tags, and photos.
- The context record explains who wrote the recipe, when your family made it, what “one glass” means, and which changes became tradition.
That distinction prevents an easy mistake: replacing one pile of paper with an equally hard-to-search pile of JPEGs. If you already have hundreds of disconnected food photos, our guide to stopping the recipe screenshot habit explains why searchable recipe data matters.
The preservation layer matters too. The Library of Congress overview of personal digital archiving includes scanning, file formats, descriptions, and long-term care as connected parts of one project. Capturing the image is the beginning, not the whole archive.
Before You Scan: Protect the Original
Old cards can be brittle, torn, curled, or written in fading ink. Set up the workspace before taking them out of their box.
The National Archives guidance for handling family papers recommends a clean, clear workspace, clean lotion-free hands, and no food or drink near originals. It also notes that clean bare hands are generally appropriate for paper; gloves can reduce dexterity. If the card includes a photographic print, follow the separate handling guidance for photographs.
Use these practical rules:
- Clear and dry the table.
- Remove mugs, cooking ingredients, pens, tape, and glue.
- Wash and dry your hands.
- Lift fragile paper with two hands and support the whole card.
- Do not force a fold flat or press a bound notebook against glass.
- Stop if moving the item causes cracking, flaking, or a tear.
For a card inside an album or notebook, photograph it where it rests. The Library of Congress digitization guidance specifically warns against applying pressure to flatten bound material for image capture. A phone held above the page is often safer than a flatbed scanner for a tight binding.
If a recipe is moldy, wet, badly flaking, or stuck to another page, do not experiment with household cleaners. Isolate it from the rest of the collection and seek a conservator or local archive for advice.
How to Scan Handwritten Recipes in 8 Steps
1. Triage the collection before opening the camera
Start with a small, meaningful set—perhaps ten family favorites—instead of promising to digitize three boxes in one weekend. Separate them into simple groups:
- flat cards in good condition;
- cards with writing on both sides;
- folded or torn sheets;
- bound notebooks;
- cards that need a relative’s help to interpret.
This first pass tells you which items can be photographed quickly and which need slower handling. Give every item a temporary number in pencil on a separate slip, never on the original. The number connects front, back, transcription, and notes while you work.
2. Choose a calm capture setup
Place the recipe on a plain, non-reflective surface that contrasts with the paper. Use bright, indirect daylight or soft room lighting. Avoid a hard lamp that creates a bright center and dark corners.
Turn off the phone flash unless the page is truly too dark. Flash can create glare on glossy sleeves, erase pale pencil marks, and exaggerate texture. If the card curls, use clean, inert weights outside the written area—never tape—and remove them immediately afterward.
3. Hold the camera parallel and fill the frame
Position the lens directly above the center of the card. Keep all four sides parallel to the screen edges. If the top of the card looks wider than the bottom, the phone is tilted and the text will be harder to recognize.
Move close enough that the recipe fills most of the image while leaving a narrow border around every edge. Tap on the handwriting to focus, hold still, and take more than one frame if needed. Zoom into the result before moving the card. Check the smallest fractions and the faintest line, not only the title.
4. Capture the whole object, including the back
Take a full-color image of the front and back even when the back looks blank at first. Notes, brand names, dates, phone numbers, and indentations may be meaningful later. Capture an extra detail image of a faint correction or a crowded corner rather than cropping it out of the main scan.
Do not “clean” the archival image by erasing stains or crossing out the author’s corrections. You can make a straightened, brighter working copy, but keep an untouched master as the historical record.
5. Save an original-quality master
Before running OCR or importing into an app, preserve the original camera file or full-quality scan. Name it consistently, for example:
kowalski-anna-apple-cake-card-01-front-2026-08-24.jpg
Use the same stem for the back and any close-ups. A useful file name includes the family or creator, dish, item number, side, and capture date. Avoid names such as IMG_8842 or grandma recipe final FINAL.
Keep the master in a folder that is backed up separately from the recipe app. The National Archives digitizing guidance recommends keeping the physical originals after digitization because digital files have preservation risks too.
6. Convert the handwriting into recipe fields
Now create the working recipe. You can type it manually, use text recognition, or let a recipe app extract the title, ingredient list, and instructions from the image.
On iPhone, Apple’s Notes document scanner can capture page boundaries and save multiple pages as a PDF. Apple’s Live Text feature can also select and copy recognized text from a photo in supported languages. These are useful general-purpose tools, but a raw PDF or text block still needs to be organized into recipe fields.
A recipe-specific scanner can reduce that cleanup by separating ingredients from steps and detecting times or servings. Regardless of the tool, treat the result as a draft—not an authority.
7. Proofread against the card, line by line
Display the original image beside the extracted recipe. Compare in a fixed order:
- title and source;
- yield or servings;
- oven temperature;
- every ingredient quantity and unit;
- ingredient groups such as dough, filling, and glaze;
- instruction order and timing;
- handwritten substitutions and margin notes.
Read the recipe once as a cook, not merely as a proofreader. If the card lists “bake 35 minutes” but never gives a temperature, do not let AI invent one. Add a clearly labeled note such as “Temperature missing on original” and ask a family member if possible.
8. Add context, organize, and back up
Finish the entry with the information a future cook will need:
- recipe author or family source;
- approximate decade, if known;
- original language;
- holiday or occasion;
- category and key ingredients;
- your family’s tested substitutions;
- a note that the transcription was checked;
- a reference to the master-image filename.
Then place the paper back into appropriate storage and make sure the digital master exists in at least one additional location. Your recipe library is for daily access; your image archive is the safety copy.
Which Scanning Method Should You Use?
Match the capture method to the object and the outcome.
- Phone camera: Best for speed, bound notebooks, curled paper, and working without contact. Quality depends on lighting, focus, and keeping the phone parallel.
- Document-scanning app: Best for automatic edge detection, straightening, and multi-page PDFs. It preserves a readable document but may not create structured recipe fields.
- Flatbed scanner: Best for flat, stable cards when you want consistent files. Avoid closing the lid on oversized, brittle, or dimensional items.
- Recipe scanner app: Best when the goal is an editable recipe that can be searched, scaled, planned, and added to a grocery list. Verification is still required.
- Manual transcription: Best for extremely faint, unusual, multilingual, or highly abbreviated handwriting. It is slower but lets you preserve uncertainty honestly.
The right answer is often a hybrid: photograph the original carefully, keep that master, let software create a first transcription, then correct it by hand.
The Errors You Must Check Before Cooking
Handwritten recipes are compact because the writer already knew the method. Recognition tools see marks, not family context. Review these high-risk areas first.
Fractions and look-alike numbers
Check 1 versus 7, 2 versus 3, and decimal points that could be stains. Confirm whether a fraction is 1/4, 1/2, or 3/4. A missing slash can turn half a cup into twelve cups.
Teaspoons, tablespoons, and abbreviations
Compare tsp, tbsp, T, and t. Do not silently standardize an unclear unit. Regional abbreviations and a writer’s personal shorthand may not match modern conventions.
Temperature and time
Check whether the number refers to Fahrenheit, Celsius, or a gas mark. Preserve phrases such as “moderate oven” in the notes even if you later add a tested modern temperature. Verify that “15 min” did not become “75 min.”
Ingredient sections and instruction order
Make sure the filling ingredients did not merge into the dough. Confirm that toppings, marinades, and divided ingredients appear where the instructions expect them. A perfect transcription in the wrong section is still a broken recipe.
Missing knowledge
Family cards often say “flour as needed,” “one packet,” or “bake until done.” Keep those words rather than inventing precision. Add a separate editor’s note after you test the recipe. This preserves the source while making your practical knowledge visible.
Our recipe import test across videos, websites, and screenshots uses the same principle: the source changes, but the preview-and-check step should never disappear.
How to Organize the Digital Cookbook
Scanning is successful only when someone can find and cook the recipe later. Choose a simple organization model before importing the whole box.
Use cookbooks for broad, stable groups such as “Kowalski Family,” “Holiday Baking,” or “Grandpa’s Savory Recipes.” Use tags for attributes that overlap: Christmas, freezer-friendly, handwritten, Polish, needs-testing, or Aunt Maria.
Keep titles recognizable and specific. “Cake” is not enough; “Aunt Maria’s Walnut Layer Cake” is. Put alternate names in notes so a search for the family nickname still works.
Create a status system with three tags:
transcribed-uncheckedfor a recipe that still needs comparison;checked-against-originalafter line-by-line review;tested-after-digitizingafter someone cooks the digital version.
That small workflow stops unfinished drafts from looking authoritative. It also makes the project easy to share: another relative can proofread or test a clear subset.
For a broader filing strategy, see our personal digital recipe box guide. If you are moving an existing collection between apps, use the recipe-app migration checklist before deleting anything.
A Practical YumiShare Workflow
YumiShare’s current iPhone workflow is designed to turn a photo or screenshot into an editable recipe rather than leaving it as an isolated image. According to the YumiShare feature page, you can scan a recipe from a photo, review and edit the result before saving, organize recipes into cookbooks, search the library, scale servings, plan meals, and generate grocery lists. Android is listed as coming soon.
For a handwritten card:
- Make the archival front-and-back images first.
- In YumiShare on iPhone, start a photo scan using the clearest recipe image.
- Review the proposed title, servings, ingredients, ingredient groups, instructions, time, categories, and cover.
- Compare every quantity and temperature with the original.
- Put family history and unresolved shorthand into notes instead of guessing.
- Add the recipe to a family cookbook and apply your verification-status tag.
- Test search with the title and one distinctive ingredient.
- Add the recipe to a meal plan or grocery list only after the transcription is checked.
You can download YumiShare for iPhone from the App Store and start with a small batch. The goal is not to race through the box. It is to create recipes your family can trust.
A 30-Minute Batch Routine
Large collections become manageable when you separate capture from editing.
Minutes 0–5: prepare
Clear the table, choose five stable cards, assign item numbers, and set up even light.
Minutes 5–15: capture
Photograph each front and back. Check focus before returning the cards to storage, then confirm the original files are in your archive folder.
Minutes 15–25: extract and verify
Import one or two cards. Correct quantities, units, structure, and instructions. Flag unresolved phrases instead of guessing.
Minutes 25–30: organize and back up
Add the source, cookbook, tags, and status. Confirm the master images are backed up.
Stopping after a small finished batch is better than capturing two hundred cards and leaving them unnamed. Repeat the routine weekly, and the digital cookbook will grow without turning into another stressful project.
Conclusion: Scan Handwritten Recipes Without Losing Their Story
The best way to scan handwritten recipes is to respect both sides of the job. Preserve the card as an object, then create a checked, structured recipe for cooking. Good light and a sharp photo matter, but careful verification, meaningful names, family context, and backups are what turn a scan into a lasting digital cookbook.
Start with five cards you already love. Capture both sides, keep an untouched master, review every measurement, and organize each recipe before moving to the next batch. The result will be easier to search, safer to share, and far more likely to reach the table.
Frequently Asked Questions
What is the best way to scan handwritten recipes?
For most people, the safest practical method is a phone camera in soft, even light, held parallel to the card. Capture the full front and back, keep the original-quality images, then use OCR or a recipe scanner to create an editable draft. Verify the draft line by line before cooking.
Can an iPhone scan a handwritten recipe card?
Yes. You can photograph the card, scan it as a document in Apple Notes, use Live Text where the handwriting is recognized, or use a recipe app that accepts photos. Recognition quality varies with handwriting, contrast, focus, language, and layout, so manual checking is essential.
Should I save handwritten recipes as JPEG, PDF, or text?
Keep an original-quality image for the visual record. A multi-page PDF is convenient for reading and sharing several pages. Structured recipe text is best for searching, scaling, planning, and grocery lists. These formats serve different purposes, so an important recipe may deserve all three.
Do I need a flatbed scanner?
No. A modern phone can produce an excellent working image when the lighting and camera position are controlled. A flatbed is useful for consistent capture of stable, flat cards, but it is not appropriate when the item is oversized, brittle, curled, or bound in a book that should not be forced flat.
How do I scan a faded recipe card?
Use soft, indirect light and disable flash. Try a second image from a slightly different angle, but keep the camera parallel enough to avoid distortion. Save the unedited original before adjusting contrast or brightness in a working copy. Do not overwrite pale or uncertain words in the transcription; mark them for review.
Should I keep the original recipe cards after digitizing them?
Yes. Digital files can be deleted, corrupted, locked inside an account, or separated from their context. Keep the paper originals in suitable storage and keep more than one digital copy. Digitization reduces handling and improves access; it does not make the original disposable.
How should I name scanned recipe files?
Use a repeatable pattern such as family-person-dish-item-side-date.jpg. For example, kowalski-anna-apple-cake-01-front-2026-08-24.jpg. Avoid camera defaults and vague labels. Use the same identifier in the recipe’s notes so the digital entry can be traced back to its master image.
Can YumiShare turn a handwritten recipe photo into an editable recipe?
YumiShare’s current iPhone app can scan a recipe from a photo or screenshot and create an editable recipe entry. Review the extracted title, ingredients, units, steps, time, servings, categories, and cover before saving. The feature is designed to reduce typing, not replace a cook’s judgment.