
 Polski
  Deutsch
  Español
  Français
  Italiano
  Português
  Nederlands
  Svenska
  Українська
  Русский
 How to Turn a Cookbook Page into an Editable Digital Recipe
Turn a printed cookbook page into an editable recipe with better photos, careful OCR checks, source notes, and a safe workflow for bound or glossy pages.
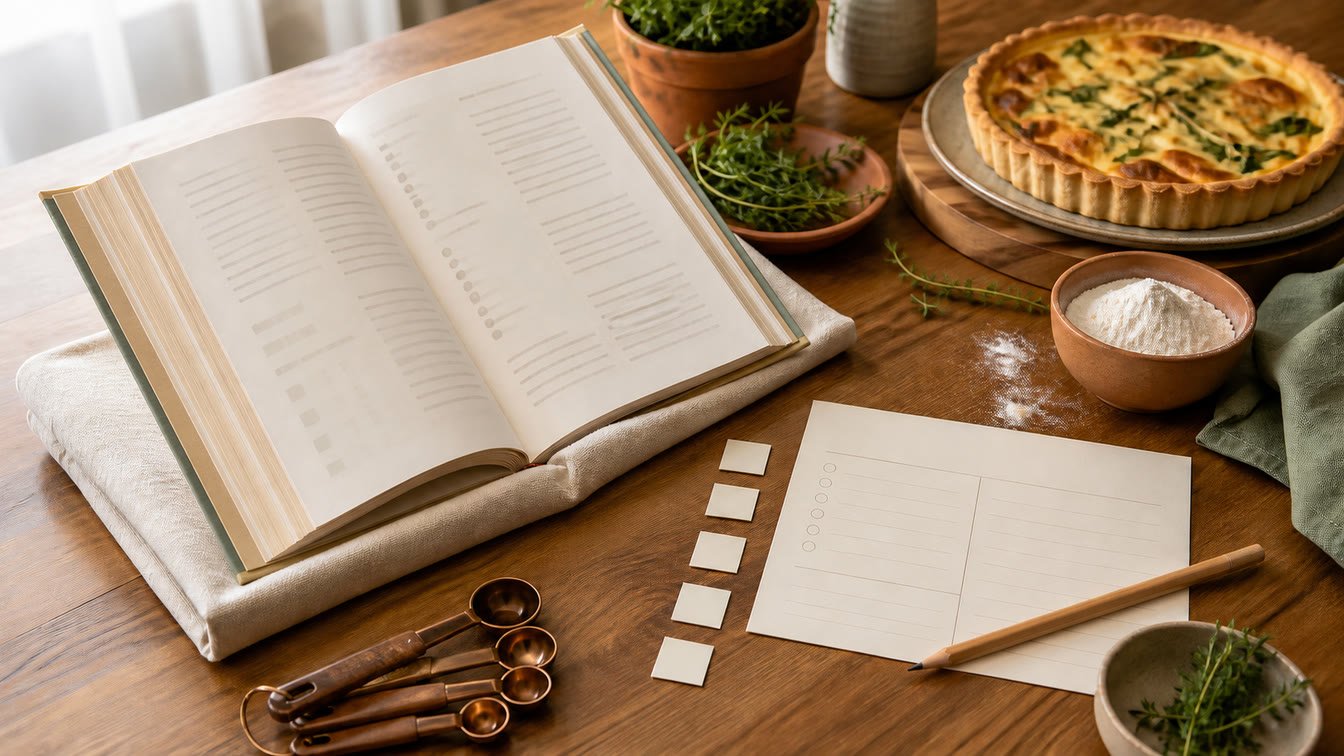
A cookbook can be full of recipes you love and still be awkward on a Tuesday night. The book is on a high shelf, the ingredient list crosses the binding, and the page will not stay open while your hands are covered in flour. A quick photo solves access, but it does not create a recipe you can search, scale, add to a meal plan, or turn into groceries.
When you scan a recipe from a cookbook, the useful goal is not a prettier picture of the page. It is an editable digital recipe that preserves the source while separating the title, servings, ingredients, instructions, times, and notes into fields you can verify and use.
This guide focuses on printed, bound cookbooks: safe capture, glossy paper, spine curvature, multi-page recipes, OCR cleanup, and source attribution.
Disclosure: YumiShare publishes this guide. YumiShare can turn a recipe photo or screenshot into an editable entry on iOS, so we have a direct interest in the workflow. The capture and verification steps apply to any scanning tool. AI and optical character recognition can misread quantities, units, temperatures, and columns; always compare the digital recipe with the original before cooking.
Key Takeaways
- Keep two layers: a clear image or scan of the printed page and a separate editable recipe for everyday use.
- Do not press a bound cookbook flat. Support the covers, keep the spine comfortable, and photograph each page from above.
- Use soft, even light; turn off flash on glossy paper; keep the camera parallel; and fill the frame without cutting off page edges.
- Capture every page that belongs to the recipe, including continued instructions, notes, variation boxes, and the source page number.
- OCR often confuses fractions, temperatures, columns, headers, and ingredient groups. Treat every extraction as a draft.
- Preserve the cookbook title, author, edition, page number, and any changes you made to the digital version.
- Digitizing a recipe for personal use does not automatically give permission to republish a cookbook's writing, photos, or illustrations.
- YumiShare can scan a cookbook photo into an editable recipe, then connect it to cookbooks, serving scaling, meal planning, grocery lists, and Cook Mode.
- Android remains listed as coming soon on the current YumiShare product page.
Table of Contents
- What makes a cookbook page difficult to scan?
- Before you scan: protect the book and the source
- How to scan a recipe from a cookbook in 9 steps
- How to fix OCR errors in a cookbook recipe
- Photo, PDF, text, or structured recipe?
- A practical YumiShare workflow
- How to organize recipes scanned from books
- Copyright and respectful personal use
- A ten-minute quality checklist
- Conclusion
- Frequently Asked Questions
What Makes a Cookbook Page Difficult to Scan?
Printed text looks easy to a human reader, but a bound page creates several problems for a camera and OCR system.
The inner margin curves toward the spine, so the last words in a line can bend or fall into shadow. Glossy paper reflects lamps and phone flash. A styled recipe may place ingredients in two columns, instructions beneath a photograph, and substitutions in a colored box. Page headers, captions, nutritional panels, and the neighboring recipe can all be mistaken for part of the dish you want.
Long recipes can split ingredients and method across pages. A partial scan may look believable while missing a temperature, sauce, or final stage.
This is why a cookbook recipe scanner should produce a draft for review, not a final authority. The camera captures evidence; OCR proposes text; you decide what belongs in the recipe.
Before You Scan: Protect the Book and the Source
Most modern cookbooks can handle careful everyday use, but an older, tightly bound, or damaged book deserves a gentler setup.
The Library of Congress preservation guidance says not to apply pressure to flatten books for image capture because that can damage the spine or loosen brittle pages. It recommends supporting books with restricted openings in a cradle. At home, two clean folded towels or foam supports beneath the covers can create a shallow V without forcing the book flat.
Prepare the table before opening the book:
- clear away food, drinks, oil, tape, and loose pens;
- wash and dry your hands;
- choose a clean, non-reflective surface;
- remove a removable dust jacket if it slides into the frame;
- support both covers so the book opens naturally; and
- stop if the spine cracks, pages flake, or the binding resists.
Record the cookbook title, author, edition, publisher, year, and recipe page number. Editions can change measurements, wording, and pagination.
If the recipe is handwritten in a family notebook or on a loose card, use the separate guide to scanning handwritten recipes into a digital cookbook. Handwriting, fragile originals, family context, and archival files need a different emphasis.
How to Scan a Recipe from a Cookbook in 9 Steps
1. Read the complete recipe first
Find where the recipe begins and ends. Look for “continued,” cross-references, preparation notes, separate sauces, and variations on the facing page. Count the pages you need before opening the camera.
This quick read also tells you which elements are functional recipe data and which are editorial material. You may need the ingredients, instructions, yield, time, and a short note, but not the surrounding essay or full-page photograph in your editable entry.
2. Support the binding instead of flattening it
Open the book only as far as it rests comfortably. Put clean supports under the covers, not on top of the printed area. If the inner margin disappears into the gutter, raise the lower cover slightly or photograph the page at a modest angle rather than pressing down.
A phone camera is often kinder to a bound book than a flatbed scanner because the page can remain supported in a V. For a valuable or fragile volume, do not improvise with glass plates or heavy weights.
3. Build soft, even light
Use indirect daylight or two diffused lamps positioned on opposite sides. The goal is even illumination from edge to edge, including the gutter.
Turn off flash for glossy pages. A flash reflection can erase several lines while the rest of the page looks sharp. If you see a white hotspot, move the light, phone, or book slightly and check again. Do not rely on an image filter to recover text that was never captured.
4. Keep the lens parallel to the page
Hold the phone directly over the center of the page, with its edges parallel to the page edges. A small tripod or overhead phone arm is useful for a batch, but a steady two-handed grip works for one recipe.
Fill the frame while keeping a narrow border around all four page edges. The border proves nothing was cropped and gives document-scanning software room to detect the page. Tap on the smallest text to focus, then take two frames before moving anything.
5. Capture the gutter deliberately
Text nearest the spine needs special attention. Zoom into the image and inspect the final words of each line. If they are curved, dark, or blurred, take a second angled detail shot of the inner margin.
Do not let an automatic crop cut away page numbers or section labels. They can help reconnect pages and preserve source information.
6. Photograph every recipe page in order
Capture page one, page two, and any continuation or variation in sequence. Include ingredient tables, oven notes, and small boxes that affect the method. If a facing page contains another recipe, frame the desired page separately to reduce OCR confusion.
Apple's current iPhone Notes guide explains that Scan Documents can detect page boundaries, capture additional pages, and save the result as a PDF. That is useful for retaining page order. It is still an image-based document, not a structured recipe.
7. Save an untouched source image
Keep the original full-resolution photo or scan before cropping, enhancing, or extracting text. A working copy may be straightened and brightened, but the untouched file is the evidence you return to when an OCR result looks suspicious.
Use a predictable name, for example:
river-table-cookbook-2e-mushroom-pie-p142-143-2026-08-30.jpg
The exact pattern matters less than including the book, recipe, pages, and capture date. Keep a second backup outside the recipe app if the cookbook is important or hard to replace.
8. Extract the recipe into editable fields
Now run OCR or use a recipe-specific photo importer. General document tools may return a PDF or a block of text. A recipe organizer can go further by proposing a title, servings, ingredient groups, instructions, times, category, and cover.
YumiShare can scan a recipe from a photo or screenshot on iOS and create an editable preview. The preview is important: correct the fields before saving instead of hiding uncertainty inside a polished card.
9. Proofread line by line
Place the original page beside the editable draft and review in a fixed order:
- title, author or source, and yield;
- prep, cooking, resting, and total time;
- every ingredient quantity and unit;
- ingredient groups and optional items;
- oven temperature and equipment;
- instruction order and all timers;
- variations, substitutions, and make-ahead notes; and
- the final serving, storage, or reheating instruction.
Do not “repair” a missing fact by guessing. If the page really omits a temperature or quantity, label it as missing and consult the referenced page, another edition, or the publisher's official correction before cooking.
How to Fix OCR Errors in a Cookbook Recipe
Printed cookbook OCR usually fails in repeatable ways. Knowing the patterns makes verification faster.
Fractions and units
Check every 1/2, 1/3, 1/4, and 3/4. A decorative fraction can become 12 or 14, while tsp and tbsp are easy to confuse at small size. Metric units can lose a letter: ml may become m1, and g may disappear beside a bold number.
Columns and reading order
OCR may read across two ingredient columns as if they were one line or insert a sidebar halfway through the method. Rebuild sections such as dough, filling, sauce, and garnish before checking quantities. Confirm that numbered steps remain in sequence.
Temperatures and symbols
Verify degree symbols, Celsius or Fahrenheit, gas marks, fan settings, and ranges. 180°C becoming 180°F is not a cosmetic error. Check whether a dash means a numeric range or begins a new item.
Headers, captions, and neighboring recipes
Remove running headers, page numbers, photo captions, and text from the adjacent recipe. Keep the cookbook page number in a source field or note rather than leaving it inside the instructions.
Hyphenated and wrapped words
Words broken across lines can gain or lose letters. This is especially risky when the broken word is an ingredient or technique. Read each instruction as a cook: if the grammar feels wrong, return to the page instead of letting autocorrect invent a solution.
The YumiShare recipe import test across websites, social posts, and screenshots shows the larger principle: source quality determines draft quality. A careful capture reduces cleanup, but verification remains necessary.
Photo, PDF, Text, or Structured Recipe?
Each format solves a different problem.
- Photo: closest to the printed page and fastest to capture, but difficult to search, scale, and shop from.
- PDF: keeps multiple pages in order and is useful as a source copy, but may still contain only images or unstructured text.
- Plain text: searchable and editable, but it can lose ingredient groups, timings, source details, and the relationship between steps.
- Structured recipe: separates title, servings, ingredients, steps, times, tags, source, and notes, making planning and grocery tools possible.
The best result is usually not one format. Keep a source image or PDF for reference and an editable structured recipe for use. The image answers “What did the book say?” The recipe answers “What am I cooking, scaling, planning, and buying?”
This two-layer approach also protects against a common mistake: deleting the source after a clean-looking extraction. A polished interface can make an OCR error feel more trustworthy than it is.
A Practical YumiShare Workflow
YumiShare's current product page documents recipe scanning from a photo or screenshot, an editable preview, grouped ingredients, recipe times, servings, categories, covers, and duplicate detection. Once saved, the recipe can be placed in a cookbook, scaled, added to a meal plan, sent to a grocery list, and followed in Cook Mode.
A practical sequence is:
- Photograph every relevant cookbook page with the workflow above.
- Keep the original images in a source folder.
- Open YumiShare and choose the photo-scanning import.
- Select the clearest image or images for the recipe.
- Review the proposed title, servings, times, ingredient groups, steps, category, and cover.
- Add a source note with the cookbook title, author, edition, and page numbers.
- Correct errors against the printed page before saving.
- Add the recipe to a cookbook and, if appropriate, the week's meal plan.
- Generate groceries only after quantities and servings are correct.
- During the first cook, keep the book or source image nearby and record any tested adjustment as your own note.
If you want a calmer path from a printed favorite to dinner, download YumiShare from the App Store and test the scanner with one recipe you know well.
How to Organize Recipes Scanned from Books
Source details should survive the conversion. Add the cookbook title and author, edition, page number, and date scanned. If you changed the serving size, unit system, or wording, record that the editable version has been adapted.
Organize for decisions, not only to mirror shelves. Collections such as “Weeknight from print” or “Baking to test” may be more useful than recreating every physical title. Tags can preserve cuisine, course, season, and dietary information.
Before migrating a large scanned library, use the recipe-app switching checklist to test backup, export, images, notes, categories, and source links. Ten carefully verified recipes are more valuable than five hundred attractive drafts with uncertain quantities.
Copyright and Respectful Personal Use
Scanning a page for your own kitchen is different from republishing it.
The U.S. Copyright Office's Circular 33 explains that a mere list of ingredients or simple directions is not copyrightable, while creative explanations, photographs, and illustrations can be protected. Copyright rules vary by country, and the legal status of a particular page depends on the work and intended use.
Use a conservative practice:
- keep the scanned page and editable recipe for personal reference;
- record the cookbook and author as the source;
- write your own tested notes instead of copying an author's narrative voice;
- do not upload the page photograph, illustration, headnote, or distinctive prose publicly without permission; and
- link to or recommend the book when sharing your own cooking experience.
This section is general information, not legal advice. If you plan to publish, sell, teach from, or distribute material copied from a cookbook, get advice appropriate to your country and use.
A Ten-Minute Quality Checklist
Before calling the scan finished, check four layers.
Capture
- all page edges and every continuation page are present;
- the gutter text is readable;
- there is no glare or motion blur; and
- the original image is saved separately.
Recipe data
- servings and times match the book;
- every quantity, fraction, unit, and temperature is correct;
- ingredient groups and step order are intact; and
- missing information is labeled, not invented.
Source and organization
- cookbook, author, edition, and page numbers are recorded;
- the recipe has useful tags or a cookbook collection; and
- personal changes are separated from the printed source.
Cooking readiness
- serving scaling has been checked before generating groceries;
- allergens and safety-critical steps were verified manually;
- the source image remains available for the first cook; and
- the editable recipe is backed up according to its importance.
Conclusion: Scan the Page, but Cook from Verified Data
The best way to scan a recipe from a cookbook is to preserve the page and build a second, editable version from it. Support the binding, use even light, capture the gutter and every continuation page, save an untouched source, then treat OCR as a draft.
The final proofread is what turns a photograph into a dependable recipe. Once the title, servings, ingredients, temperatures, steps, source, and notes are verified, the recipe can do more than sit in a camera roll: it can be searched, scaled, planned, shopped, and followed in the kitchen.
Frequently Asked Questions
Can I scan a recipe from a cookbook with my iPhone?
Yes. You can photograph the page, use Apple's document scanner in Notes, or use a recipe app that converts a photo into editable fields. Keep the phone parallel, avoid glare, capture every page, and verify the extracted quantities and temperatures against the book.
Is a cookbook photo the same as an editable recipe?
No. A photo preserves the page visually, while an editable recipe separates ingredients, steps, servings, times, source, and notes. Keep both: the image as evidence and the structured recipe for search, scaling, meal planning, groceries, and cooking.
How do I scan text close to a cookbook spine?
Support the book in a shallow V rather than pressing it flat. Use even side lighting, focus on the inner margin, and take a second angled detail image if the gutter text remains curved or dark. Check the final words of every line before moving the book.
What if the recipe continues onto a second page?
Capture all pages in reading order, including ingredient lists, methods, variations, and sidebars that affect the dish. A multi-page document scan can preserve order, but the final editable recipe still needs a line-by-line check.
Can OCR read two-column cookbook recipes accurately?
Sometimes, but columns are a common failure point. OCR may merge lines across columns or insert a sidebar in the wrong place. Rebuild ingredient groups first, restore the correct reading order, and compare every line with the page.
Should I save the cookbook scan as a photo or PDF?
Use a full-resolution photo for a simple one-page source and a PDF when preserving several pages in order. Neither replaces a structured recipe. Keep the source format plus an editable entry, and maintain a separate backup for important recipes.
Is it legal to scan recipes from a cookbook?
Copyright depends on the country, the material, and how it is used. In the United States, simple ingredient lists and basic procedures may be unprotectable, while creative writing, photographs, and illustrations can be protected. Personal reference is different from public redistribution; do not republish copied pages or expressive material without permission.
Can YumiShare turn a cookbook page into an editable recipe?
Yes. YumiShare's current iOS product page documents scanning a recipe from a photo or screenshot into an editable preview. Review the result before saving, especially fractions, units, temperatures, ingredient groups, and continued instructions. Android is currently listed as coming soon.